History
- 2025-06-27 - tip 추가: tags, categories list에 cover image 표시하기
- 2022-09-08 - 내용 수정, 그림파일 링크 관련 추가
Intro
- hugo의 테마 중에 가장 간결하고 안정적이며 많은 사람들이 사용하고 있다.
- hugo 프로젝트는
~/www로 가정한다. - 주의할 것은 hugo의 구조가
~/www/contents/이하에 markdown 파일을 넣어주어야 하고, 이하 폴더는 적절히 만들되index.md파일은 만들면 웹페이지 메인 화면에 내용이 뜨질 않는다는 점이다. - 설정은
~/www/config.yml이다. - 설정을 변경하면
hugo -D server동작시 자동으로 반영된다. - 만약 설정 변경 사항이 브라우저에서 보이지 않으면 서버를 재실행 한다.
Install and Update
- Install
$ cd ~/www
$ git clone https://github.com/adityatelange/hugo-PaperMod themes/PaperMod --depth=1
- Update
$ cd themes/PaperMod
$ git pull
Setup 관련 링크
- 아래 사이트에
config.yml및post.md샘플이 있으니 참고한다. - https://adityatelange.github.io/hugo-PaperMod/posts/papermod/papermod-installation/
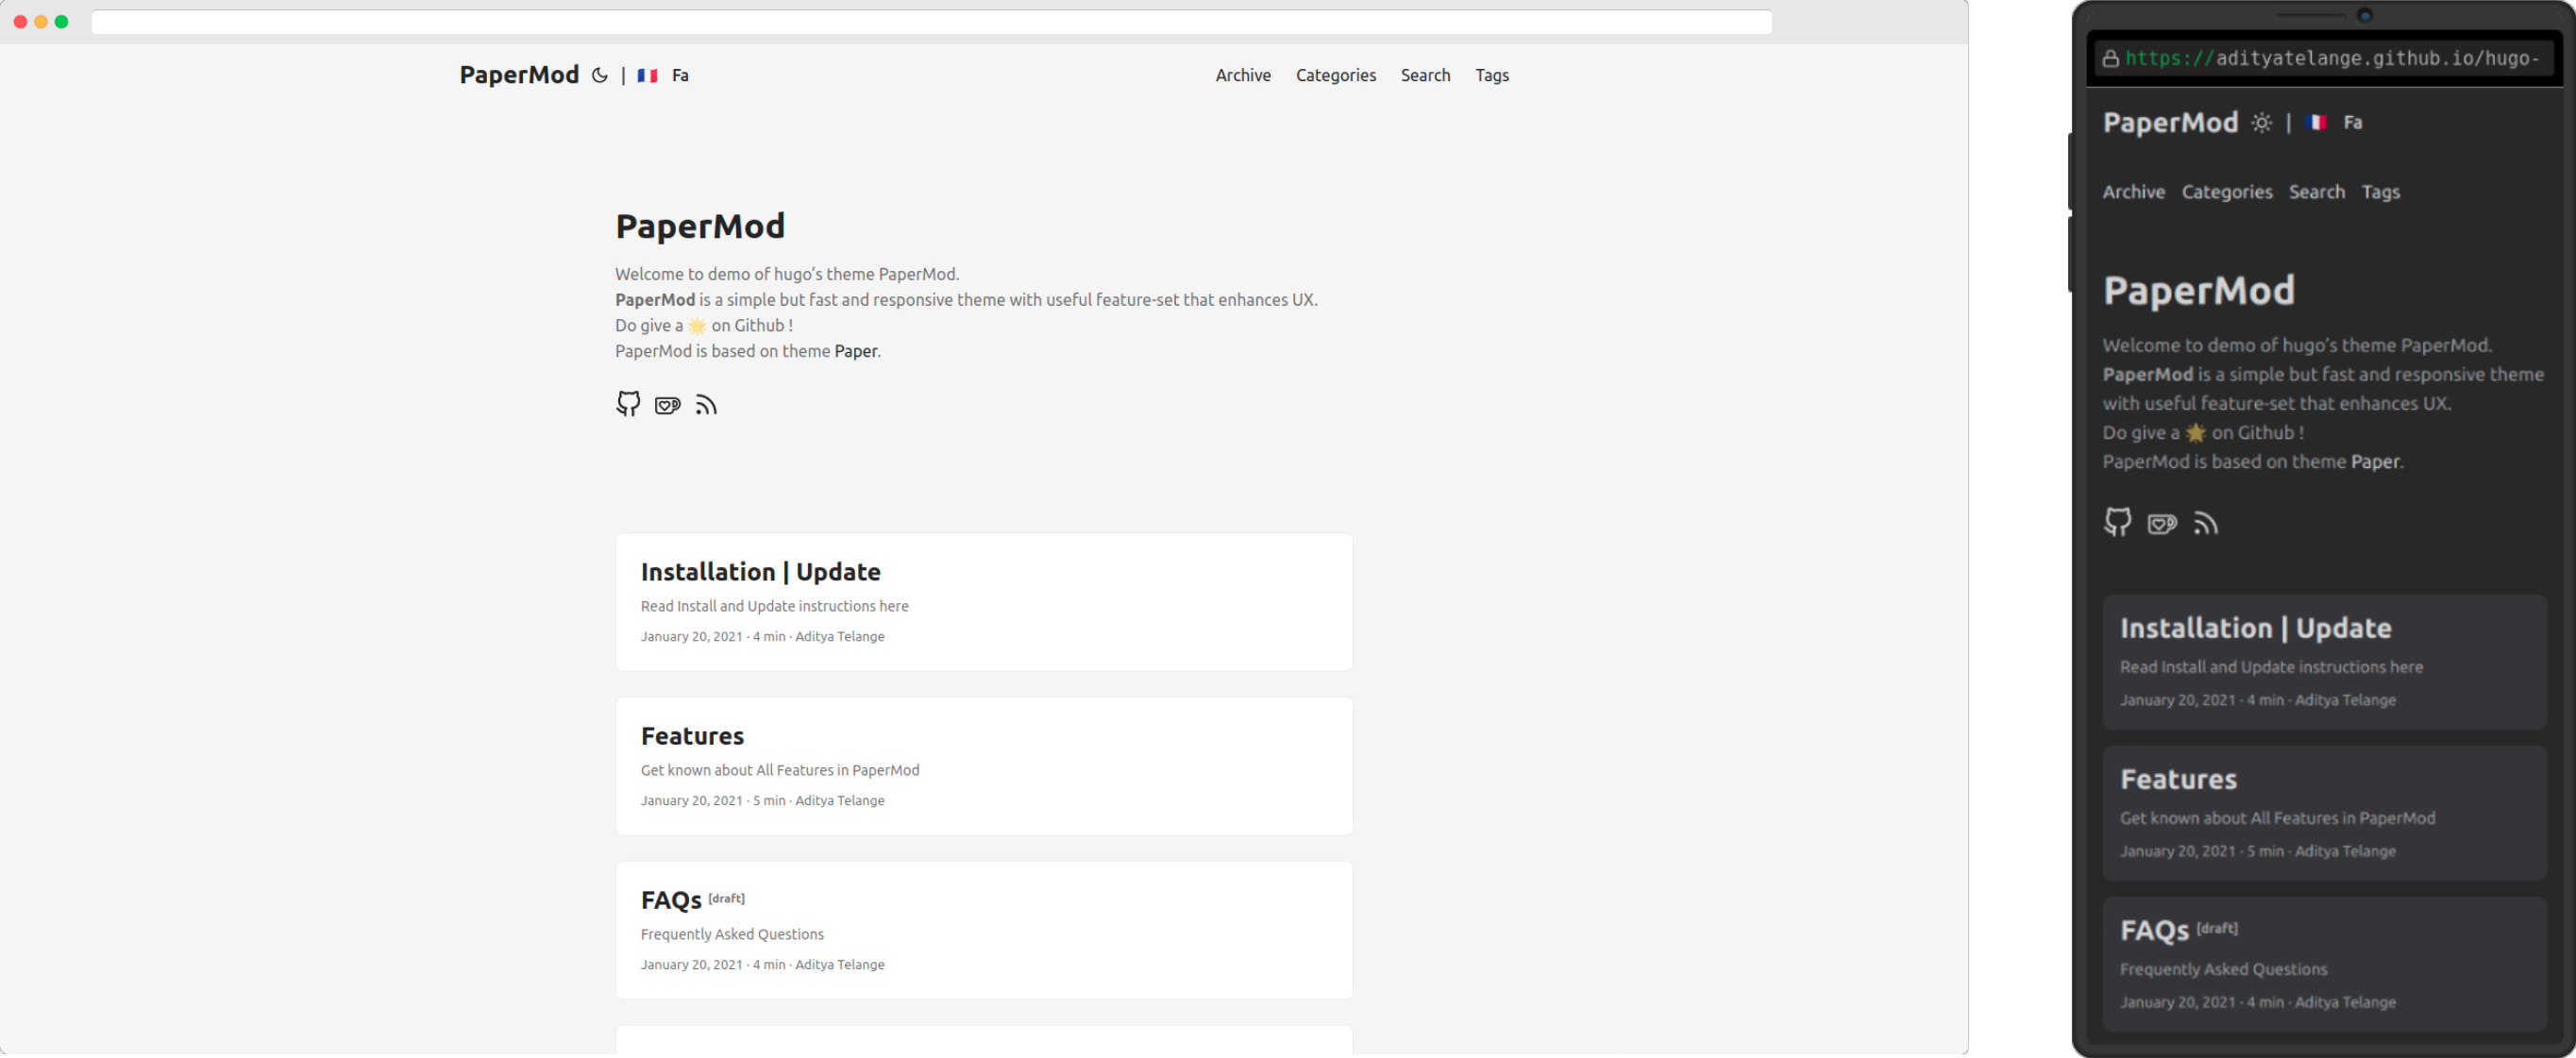
테마 설정
- papermod 의 테마는 light/dark/auto 가 있다.
- 홈화면 좌측 상단에 해/달 아이콘 클릭
baseURL: "https://your_idname.github.io/" # 자신의 깃페이지 URL
title: My Blog and wiki # 블로그홈 제목
paginate: 5             # 홈에서 보여줄 블로그 표시 갯수
theme: "PaperMod"       # 테마 PaperMod로 지정

params:
    # defaultTheme: light
    # defaultTheme: light
    defaultTheme: auto    # auto로 설정하면 사용자가 바꿀 수 있다.

    # disableThemeToggle: true  # 해/달 아이콘을 보이지 않게 하기
메뉴설정
- 홈 우측 상단 메뉴를 다음과 같이 추가한다.
menu:
  main:
    - identifier: categories    # 블로그 카테고리 메뉴
      name: categories
      url: /categories/
      weight: 10
    - identifier: search        # 블로그 검색 메뉴
      name: Search
      url: /search
      weight: 30
    - identifier: tags          # 블로그 태그 메뉴
      name: tags
      url: /tags/
      weight: 20
    - identifier: archives          # 블로그 태그 메뉴
      name: tags
      url: /tags/
      weight: 20
- Archive Page - 아카이브 페이지, 날짜별로 올린 포스트문서가 정리됨
$ cat << EOF > ~/www/content/archives.md
---
title: "Archive"
layout: "archives"
# url: "/archives"
summary: "archives"
---
EOF
- Search Page - 검색페이지, 퍼지 스타일의 빠른 검색
$ cat << EOF > ~/www/content/search.md
---
title: "Search" # in any language you want
layout: "search" # is necessary
# url: "/archive"
# description: "Description for Search"
summary: "search"
placeholder: "검색어를 입력하세요"
---
EOF
- tags와 categories는 올릴 포스트문서
post.md등의 frontmatter에 기록하면 자동으로 분류되고 홈 상단 메뉴에서 볼 수 있다.
Post Cover Image
~/www/config.yml에 설정해주고 아래 설명대로 포스트문서에 링크를 걸어주면 된다.
cover:
  image: "<image path/url>"
  # can also paste direct link from external site
  # ex. https://i.ibb.co/K0HVPBd/paper-mod-profilemode.png
  alt: "<alt text>"
  caption: "<text>"
  relative: false # To use relative path for cover image, used in hugo Page-bundles
- 이미지 사이즈를 줄이고 처리속도를 높이려면 아래 설정 추가
params:
  cover:
    responsiveImages: false
그러나 실제로 적용해도 페이지는 변화하지 않는다.
다음 방법으로 해결하였는데 위 방법이 해결되면 다시 정리 예정.
그리고 자신의 github에서 wiki를 클릭하여 이미지를 넣어 링크를 받아오는 방법이 있는데 이는 너무 번거롭고 링크주소가 복잡하여 하지 않았다.
현재 해결된 방법은 다음과 같다.
$ mkdir ~/www/contents/images # hugo 프로젝트 폴더의 contents/images 생성
$ cp myimage.png ~/www/contents/images/ # 내 그림파일 복사
$ vim ~/www/contents/wiki/my-new-post.md # 새로운 포스트 작성
...

...
$ hugo -D server # 브라우저에서 이미지 로딩 확인
- 아직 홈페이지 화면 이미지는 복잡한 구조를 이해하지 못해 올리지 못하고 있다.
Show TOC (Table of Contents)
- 모든 블로그에 목차를 보이게 하려면 아래 설정 추가
ShowToc: true
TocOpen: true
- 각 페이지에 선택적으로 목차를 만들 경우에는 해당 페이지에 설정한다.
---
생략...
ShowToc: true
TocOpen: true
---
Tips
블로그 리스트에 날짜 표시 형식 변경
config.toml에 다음과 같이 수정하고 hugo server 재실행
#DateFormat: "January 2, 2006"
DateFormat: "2006-01-02"
블로그 리스트에 업데이트 날짜 표시
- hugo project 에서 다음과 같이 작업
$ mkdir -p layouts/partials
$ cat <<EOF > ~/www/layouts/partials/post_meta.html
{{ $date := .Date.Format "02.01.2006" }}
{{ $lastmod := .Lastmod.Format "02.01.2006" }}
{{- $scratch := newScratch }}
{{- if not .Date.IsZero -}}
{{- $scratch.Add "meta" (slice (printf "<span title='%s'>%s</span>" (.Date) (.Date | time.Format (default "January 2, 2006" site.Params.DateFormat)))) }}
{{- end }}
{{- if ne $lastmod $date -}}
{{- $scratch.Add "meta" (slice (printf "<span title='%s'>(updated %s)</span>" (.Lastmod) (.Lastmod | time.Format (default "January 2, 2006" site.Params.DateFormat)))) }}
{{- end }}
{{- if (.Param "ShowReadingTime") -}}
{{- $scratch.Add "meta" (slice (i18n "read_time" .ReadingTime | default (printf "%d min" .ReadingTime))) }}
{{- end }}
{{- if (.Param "ShowWordCount") -}}
{{- $scratch.Add "meta" (slice (i18n "words" .WordCount | default (printf "%d words" .WordCount))) }}
{{- end }}
{{- with (partial "author.html" .) }}
{{- $scratch.Add "meta" (slice .) }}
{{- end }}
{{- with ($scratch.Get "meta") }}
{{- delimit . " · " -}}
{{- end -}}
EOF
- 내 문서의 frontmatter에 frontmatter에 lastmod 추가
$ vim contents/posts/mypost.md
...
lastmod: 2022-09-08T17:49:01+09:00
- 브라우저에서 확인
$ hugo -D server # 브라우저에서 확인
특정 포스트를 리스트에서 빼기
- 위키를 작성하고 이를 블로그 포스트에 올리게 되면 wiki index와 충돌한다.
index.md를windex.md로 변경한 후 이를 블로그 리스트 목록에서 감추게 한다.windex.md의 frontmatter에 다음을 추가
_build:
    list: false
특정 포스트를 리스트에서 최상단에 고정하기
- 해당 포스트 문서의 front matter에
weight가중치를 1, 2 로 설정
---
title: "My Important post"
date: 2020-09-15T11:30:03+00:00
weight: 1
---

---
title: "My 2nd Important post"
date: 2020-09-15T11:30:03+00:00
weight: 2
---
cover image를 tags, categories 리스트에서도 표시하기
PaperMod/assets/css/common/post-entry.css다음 부분을 수정 (none -> flex)
.tag-entry .entry-cover {
    display: flex;
}
Cover를 이미지 리스트에 표시하기
config.yml에 글로벌 환경 설정
  cover:
    hidden: false # hide everywhere but not in structured data
    hiddenInList: false # hide on list pages and home
    hiddenInSingle: false # hide on single page
- md 파일 작성시 front matter에 다음 적용
conver:
	image: "/images/Handpan-corsi.jpg"
- Categories나 Tags에서 리스트를 볼 때에도 Cover이미지 리스트에 표시
Papermod/assets/css/common/post-entry.css수정display: none을flex로 변경
.tag-entry .entry-cover {
    display: flex;
    }